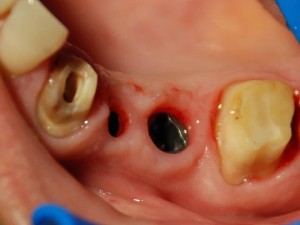
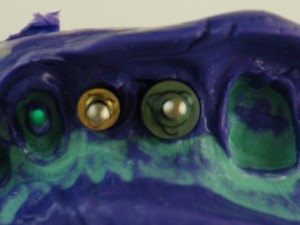
1. View of the prosthetic site after removal of the temporary bridge and healing pillars
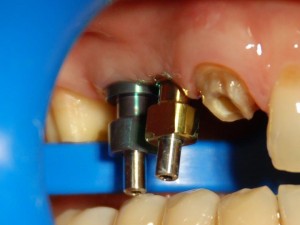
2. Implant transfers in place before impression.

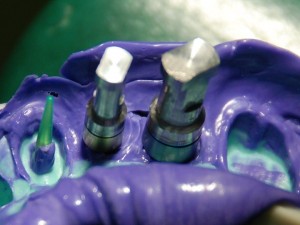
3. Application of DUROC on transfers
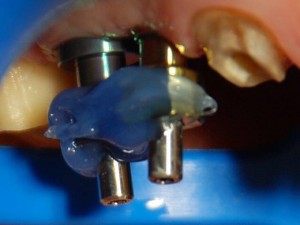
4. Setting of Duroc is finished, giving free access to screws
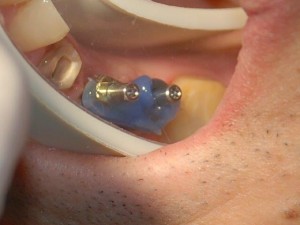
5. Fitting
6. Impression made with the implant transfers
7. Replicas are in place (not screwed yet)