1 – Endodontic treatment completed, root canals sealed
2 – Preparation of the root cananl with suitable reamers, accordingly with the anatomy of the root
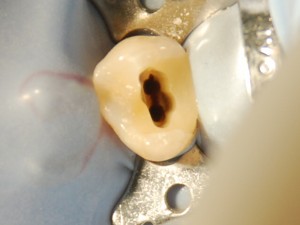
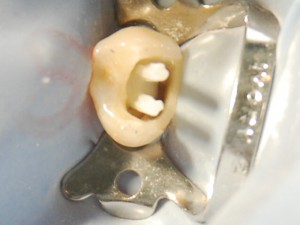
3 – Preparation completed
4 – Choice of the suitable posts – Try-in – apply a conditioner on the posts and cavity (If necessary)
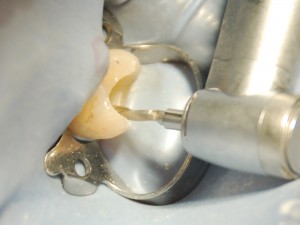
5 – Coat the post space preparation with HEALBOND MP, then coat the post and the preparation space with CORE D and gently instert the post into the root
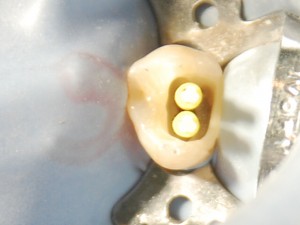
6 – Sealed FP posts in place
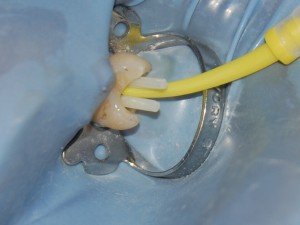
7 – Apply CORE D around the posts and onto the inner surfaces of the preparation
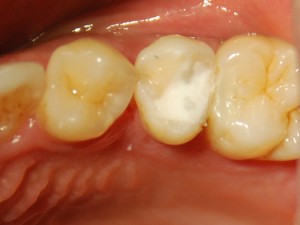
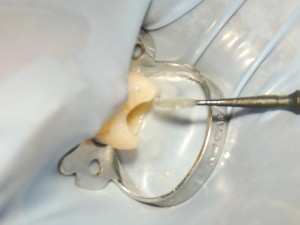
8 – Restoration completed, before the preparation of the tooth
9 – Preparation completed. Abutment tooth ready for impression